Shaping the flute
I thought it would interest some of you to see some of the work that goes into making these flutes – so once in a while I’ll post up a little piece which shows a random bit of the flute making process.
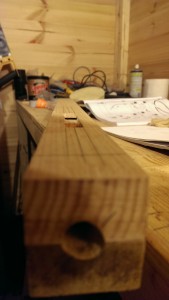
Before shaping begins
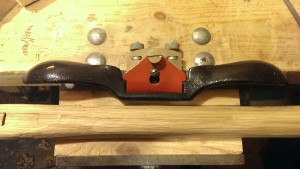
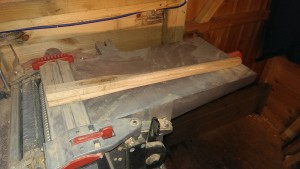
Today I’m going to cover shaping the flute – it starts life as a long square cross-section box which looks very un-flutelike; how does it get to the beautiful sleek shape the flute-buyer gets to see? Well – some use a lathe; which makes shaping a very quick affair with very clean, precise results; I use a “Two-Handed Spoke Shave Plane”. The base of this is placed against the corner of the box shape, and drawn towards the maker; the blade digs in slightly and cuts a tiny ribbon of wood smoothly from the flute. This is repeated over and over, at different angles, until a curve is produced. As the curve gets all the way around the flute, your focus turns to blending out ridges and smoothing the curve over the whole flute. Once the bottom half of the flute is circular (or close to it), you move to the top half;
but here you have to leave the top of the flute (where the sound mechanism is) alone; and you also have to taper the upper (blow hole) end of the flute so that it’s comfortable to play. Inside the flute below the blow hole is the “Slow Air Chamber” – when tapering the blow hole end you have to be careful not to thin the flute walls too much near the slow air chamber or even to breach it… if you do that, your flute is toast. Depending on the wood you’re using, you may want to use a surform to shape the blow hole area and use the spoke shave to round off the curves later. Once practiced, this stage can be reduced to about 3 hours’ work – maybe 4.
Once this stage is complete we’re into smoothing the surface using a file, followed by sandpaper and then finally finishing – usually with oil and wax in my case although some use varnish, some paint, and still others use only wax or only oil.
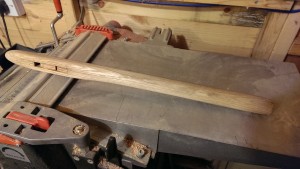
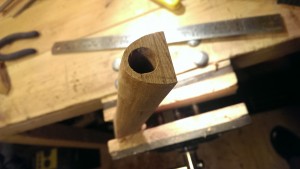
Shaping finished; ready for filing.
